
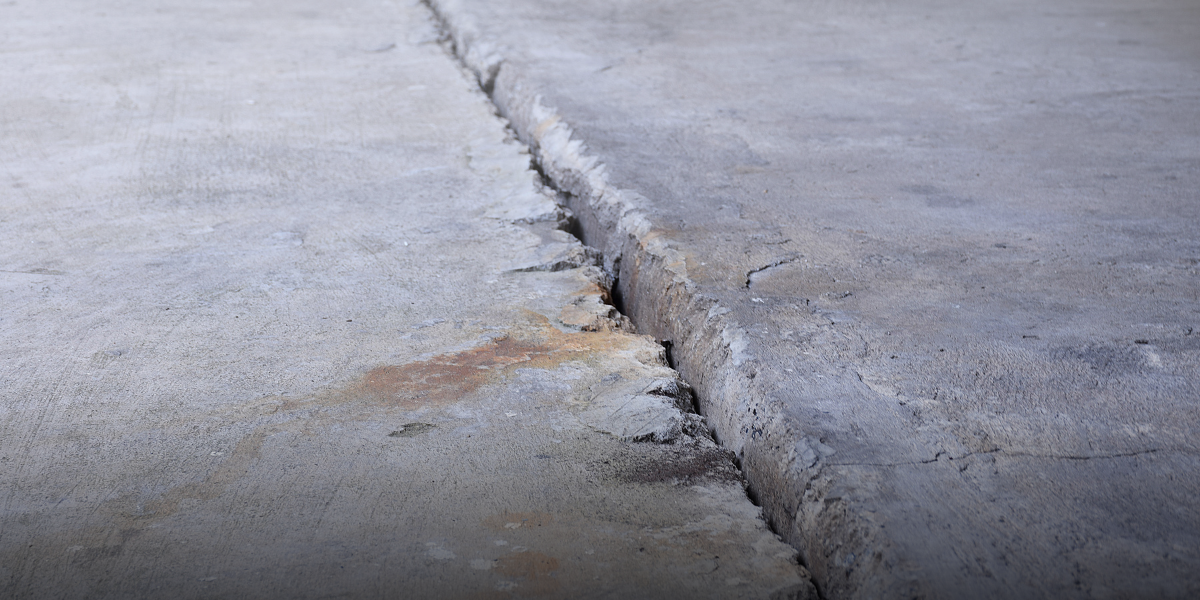
When a slab settles, the problem is rarely the concrete itself. It’s usually the voids or soft soil underneath. Cement lifting (most often done with polyurethane foam injection or mudjacking) is how professionals bring those slabs back up to grade without replacement. Below is the process from start to finish.
Fun Fact: Many people use “concrete” and “cement” interchangeably. Cement is an important ingredient that forms into a solid concrete surface.
1. Site Inspection and Measurement
Every job starts with a concrete inspection. You can’t guess at what’s going on under a slab. We check for washouts, soft spots, or tree roots pushing sections up. A laser or digital level helps find the high and low points. That gives us a reference before we lift. If the slab has too many cracks or is broken apart, it’s better to replace it. Foam and grout can’t fix a slab that’s already coming apart.
Polyurethane: We check soil moisture and density because foam behaves differently in dry versus damp soil. Too wet and it spreads unevenly. Too dry and it may not expand right.
Mudjacking: Moisture is less important since the mix itself is wet. But if the soil is soft, the added weight of the mud can cause it to sink again later.
2. Drilling Injection Ports
Once we know where to lift, we drill holes through the slab. Poly jobs need smaller holes, around 5/8 inch. Mud concrete jacking holes are 1 to 2 inches wide. That’s the first visible difference people notice.
Poly: Small, clean holes, easy to patch. We usually mark a grid three to five feet apart, depending on the slab thickness and how deep the voids are.
Mud: The holes are bigger and fewer. You need wider openings to push heavy grout through. After patching, you can usually spot them.
Before drilling, we always check for sprinklers or conduit. You’d be surprised how many lines get hit because someone skipped that step.
3. Injection Process
Now comes the real part. With polyurethane, two chemicals meet in the gun: an isocyanate and a polyol resin. When they combine, they expand fast. It starts as a liquid, fills the gaps, and becomes rigid foam in seconds. We use gauges or lasers to monitor lift. You raise it a little at a time, millimeters per pass. Rushing the lift can crack the slab.
Poly: Lightweight, about two pounds per cubic foot. That’s lighter than topsoil. You’re not loading the soil more. Foam expands laterally, so it finds and fills every little pocket.
Mud: Uses a slurry of sand, clay, and cement. It weighs around 100 pounds per cubic foot, which means you’re adding more load to the same weak soil that let the slab sink in the first place. It fills voids but doesn’t compact them the same way foam does.
One thing every tech should know: watch the reaction. Foam starts to expand fast. If you over-pump, you’ll pop a corner or lift it too high. Mudjacking is slower, but you can’t really pull material back once it’s in.
4. Lift Control and Stabilization
This step is about finesse. You alternate between ports, keeping the lift even across the slab. The goal is steady pressure and small adjustments.
Poly: Expands into every void, sealing and compacting the soil. But it needs control. If there is too much pressure, it can cause a blowout along a joint. For small concrete slabs, we sometimes use edge barriers or temporary wood forms to stop the foam from escaping.
Mud: Heavier material lifts more slowly. That gives you time to see what’s happening, but requires more pressure to move the slab.
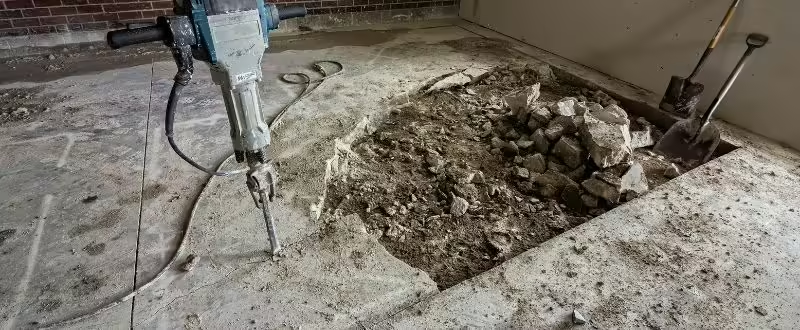
5. Port Removal and Hole Patching
After cement lifting, ports are removed and holes filled.
Poly: Holes are patched with non-shrink grout or color-matched mortar, nearly invisible after repair. Closed-cell foam doesn’t absorb moisture or degrade underground.
Mud: Cement patches look fine, but you can usually tell where they are. The heavier mix below can wash out again if drainage is poor.
6. Final Check and Clean-Up
After the lift, we check every joint with a laser. If needed, we reseal with polyurethane caulk so water doesn’t seep down again.
Poly: Ready for use the same day as the installation. That’s the big draw: it sets fast, within 15 minutes. Foam lasts decades because it’s underground, away from UV light.
Mud: Takes several hours or days to cure. It’s fine for smaller work, but the mix can settle again depending on soil compaction.
Additional Notes from the Field
Polyurethane foam is preferred for larger slabs and unstable soil because of its low weight and high spread. Mudjacking can perform well for small, controlled lifts, especially in cooler weather or tight spaces.
Tree roots and drainage issues are common causes of uneven sidewalks. In one project, roots lifted a walkway slab enough to trip pedestrians. After trimming the root, technicians lifted the slab with cement lifting foam and removed the hazard entirely. The work took less than an hour and required no landscape disruption.
Both systems can be done year-round and usually don’t require removing anything from the slab. Equipment can lift slabs with furniture, grills, or even vehicles still in place.
Avoiding the Problem from the Start
Poor backfill is the main reason for future settling. Instead of loose fill dirt, contractors should use compacted sand or sand-gravel mix under slabs. Compact each layer with a vibratory plate before pouring concrete. This removes air pockets that eventually collapse and create voids.
Why Leveled Concrete Uses PolyRenewal™ Foam Injection
At Leveled Concrete, we use polyurethane systems for accuracy and long-term stability. PolyRenewal™ foam jacking with polyurethane produces clean, fast, and permanent results without stressing weak soil. It’s the same technology trusted by highway departments for cement lifting road slabs.
If you’re dealing with uneven concrete, schedule a free inspection with our cement lifting company. Visit LeveledConcrete.com today.